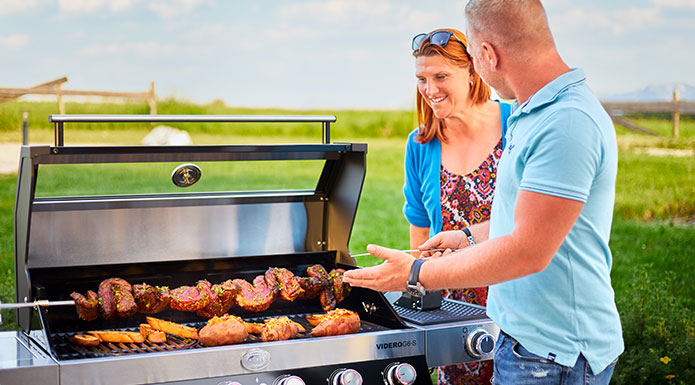
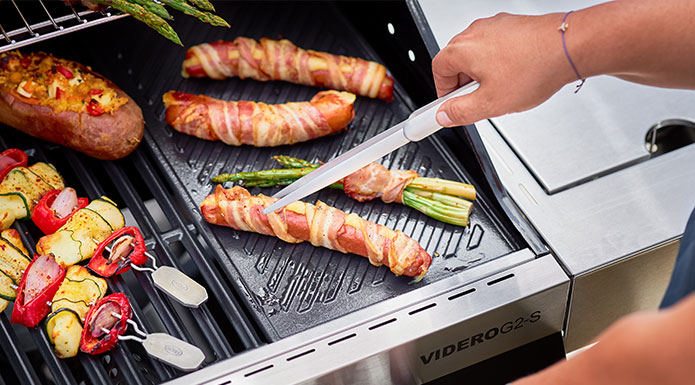
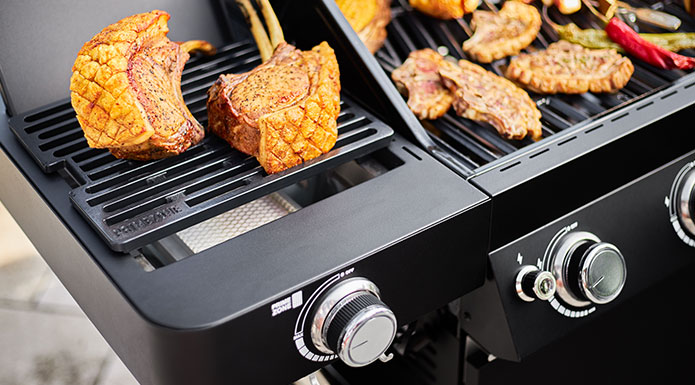
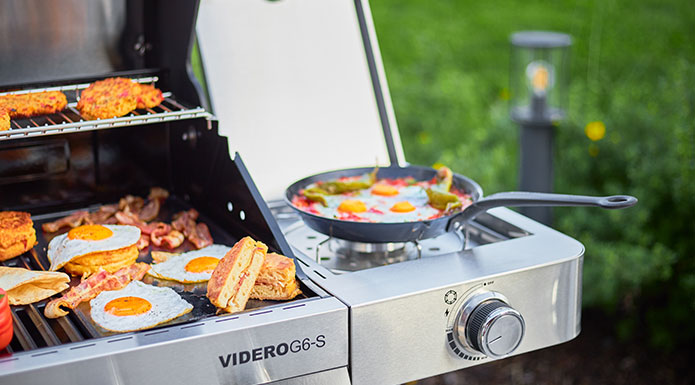
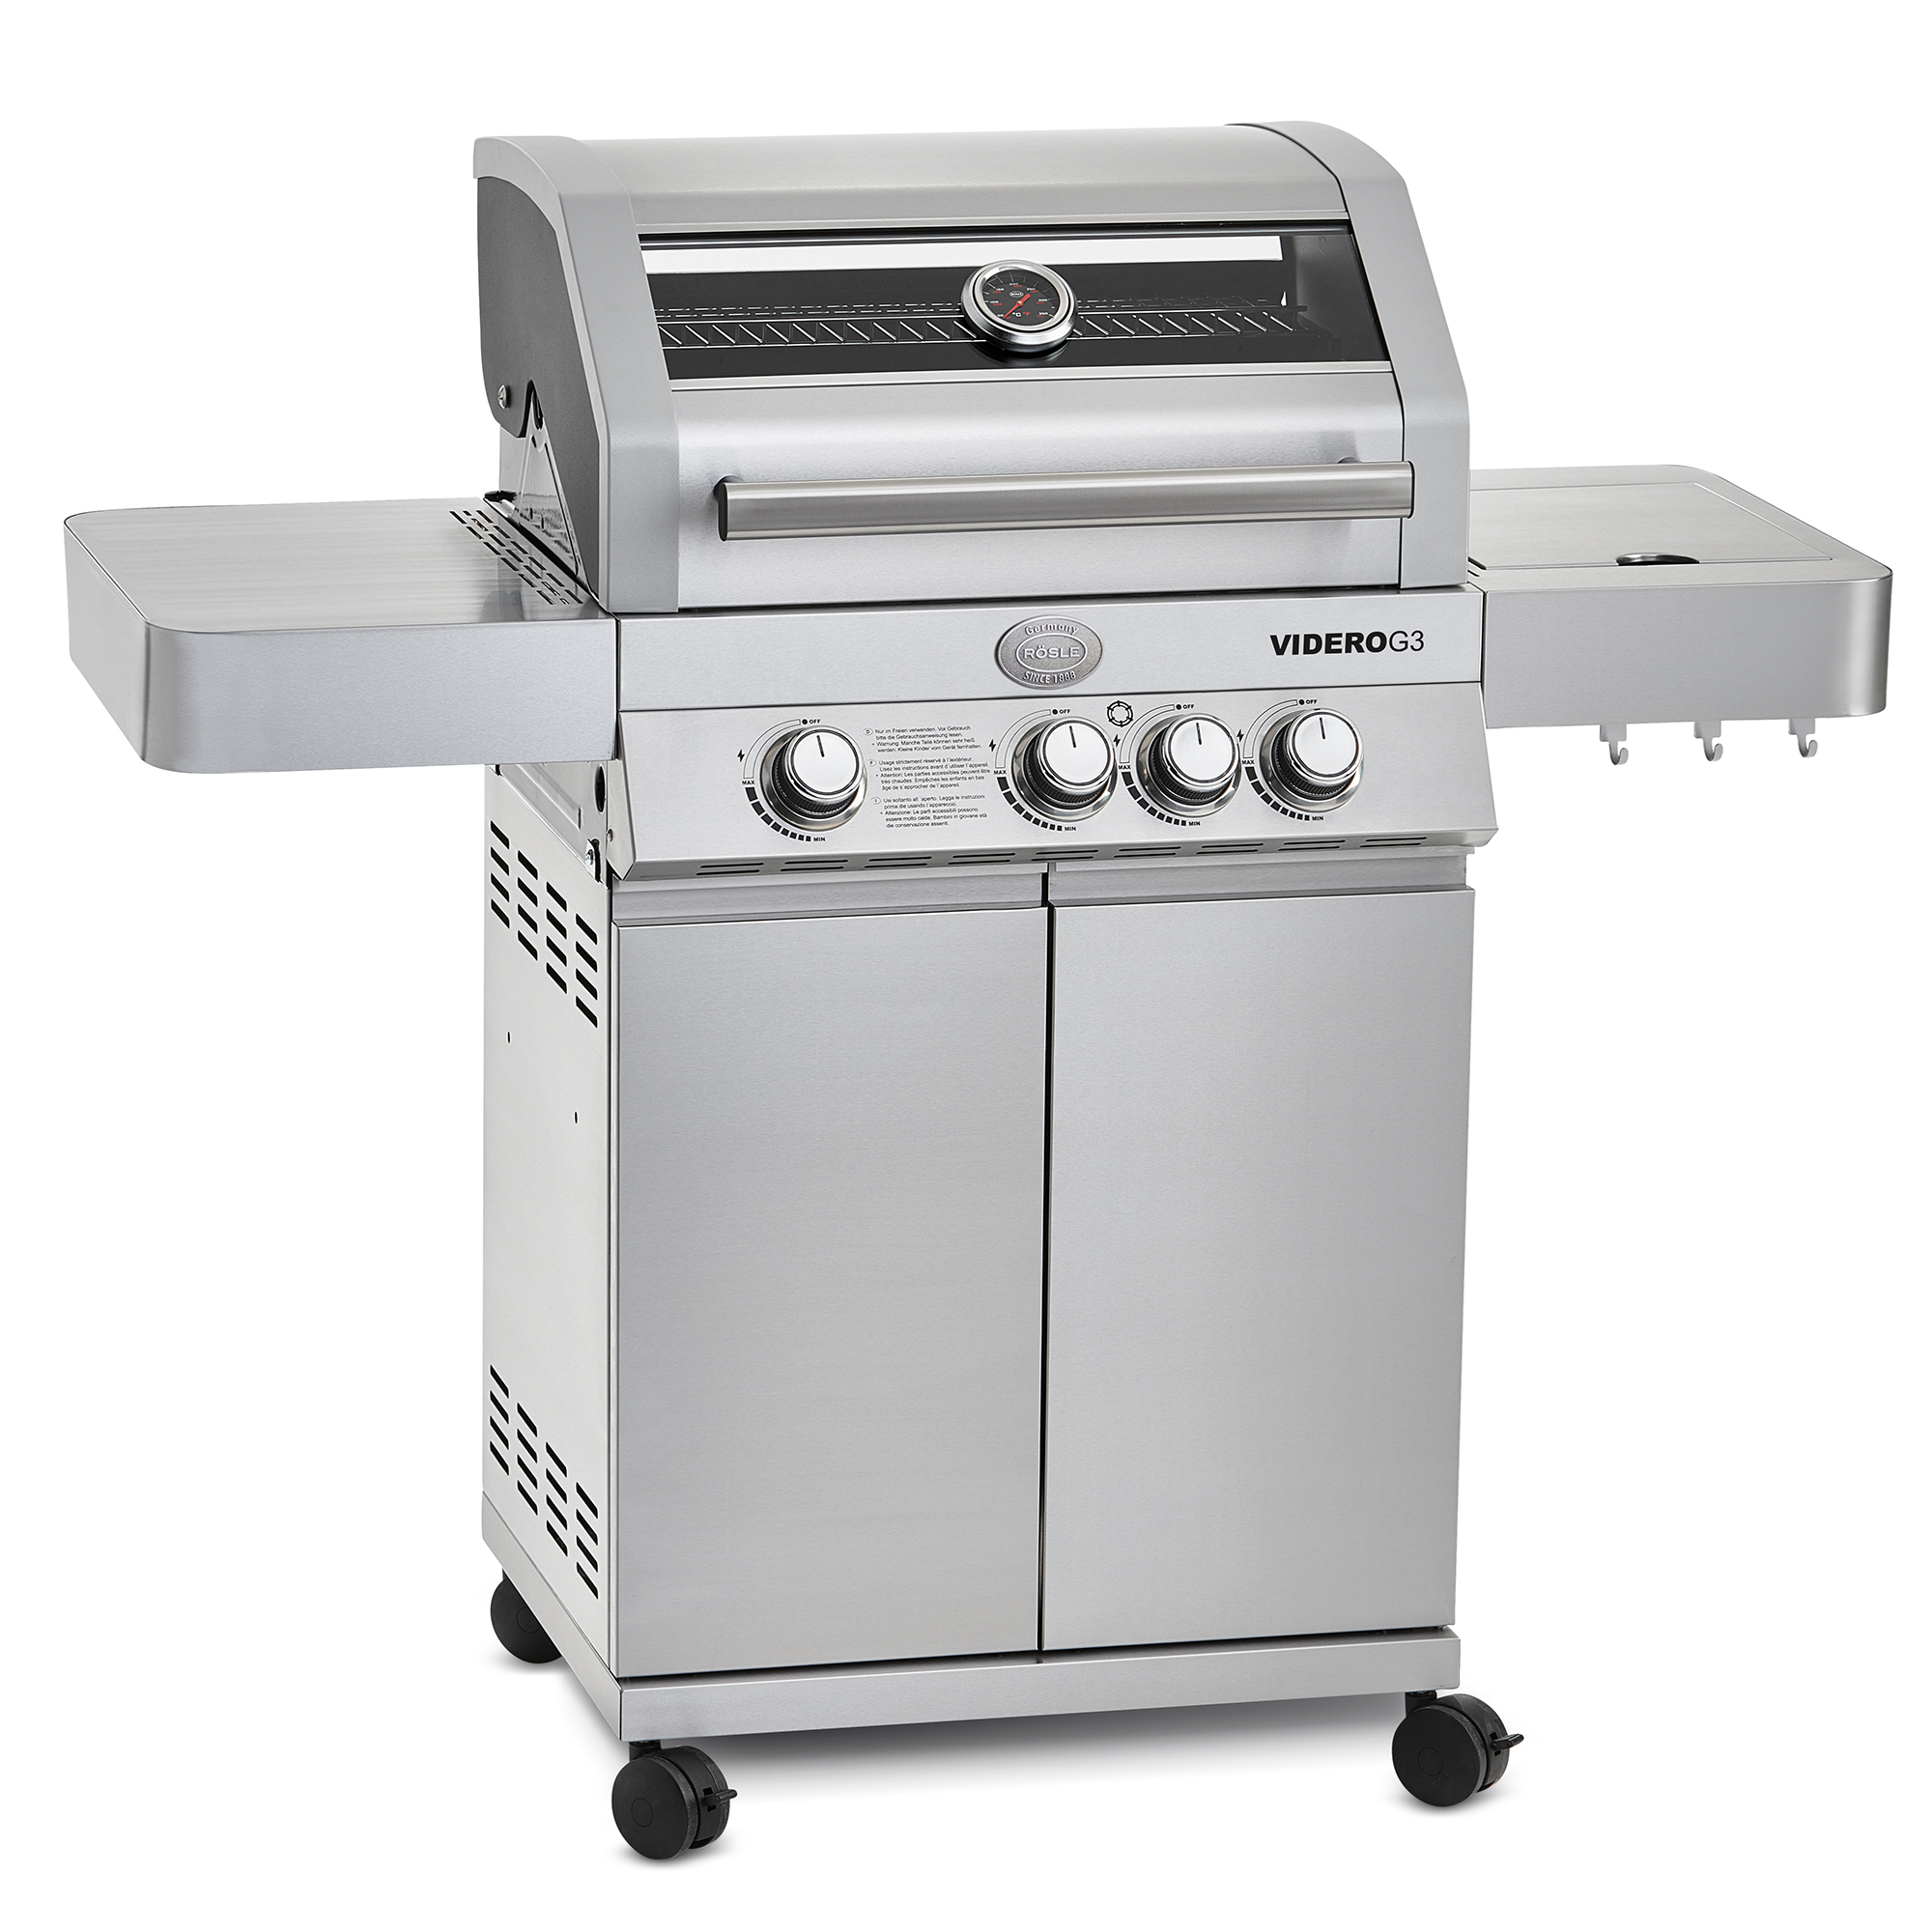
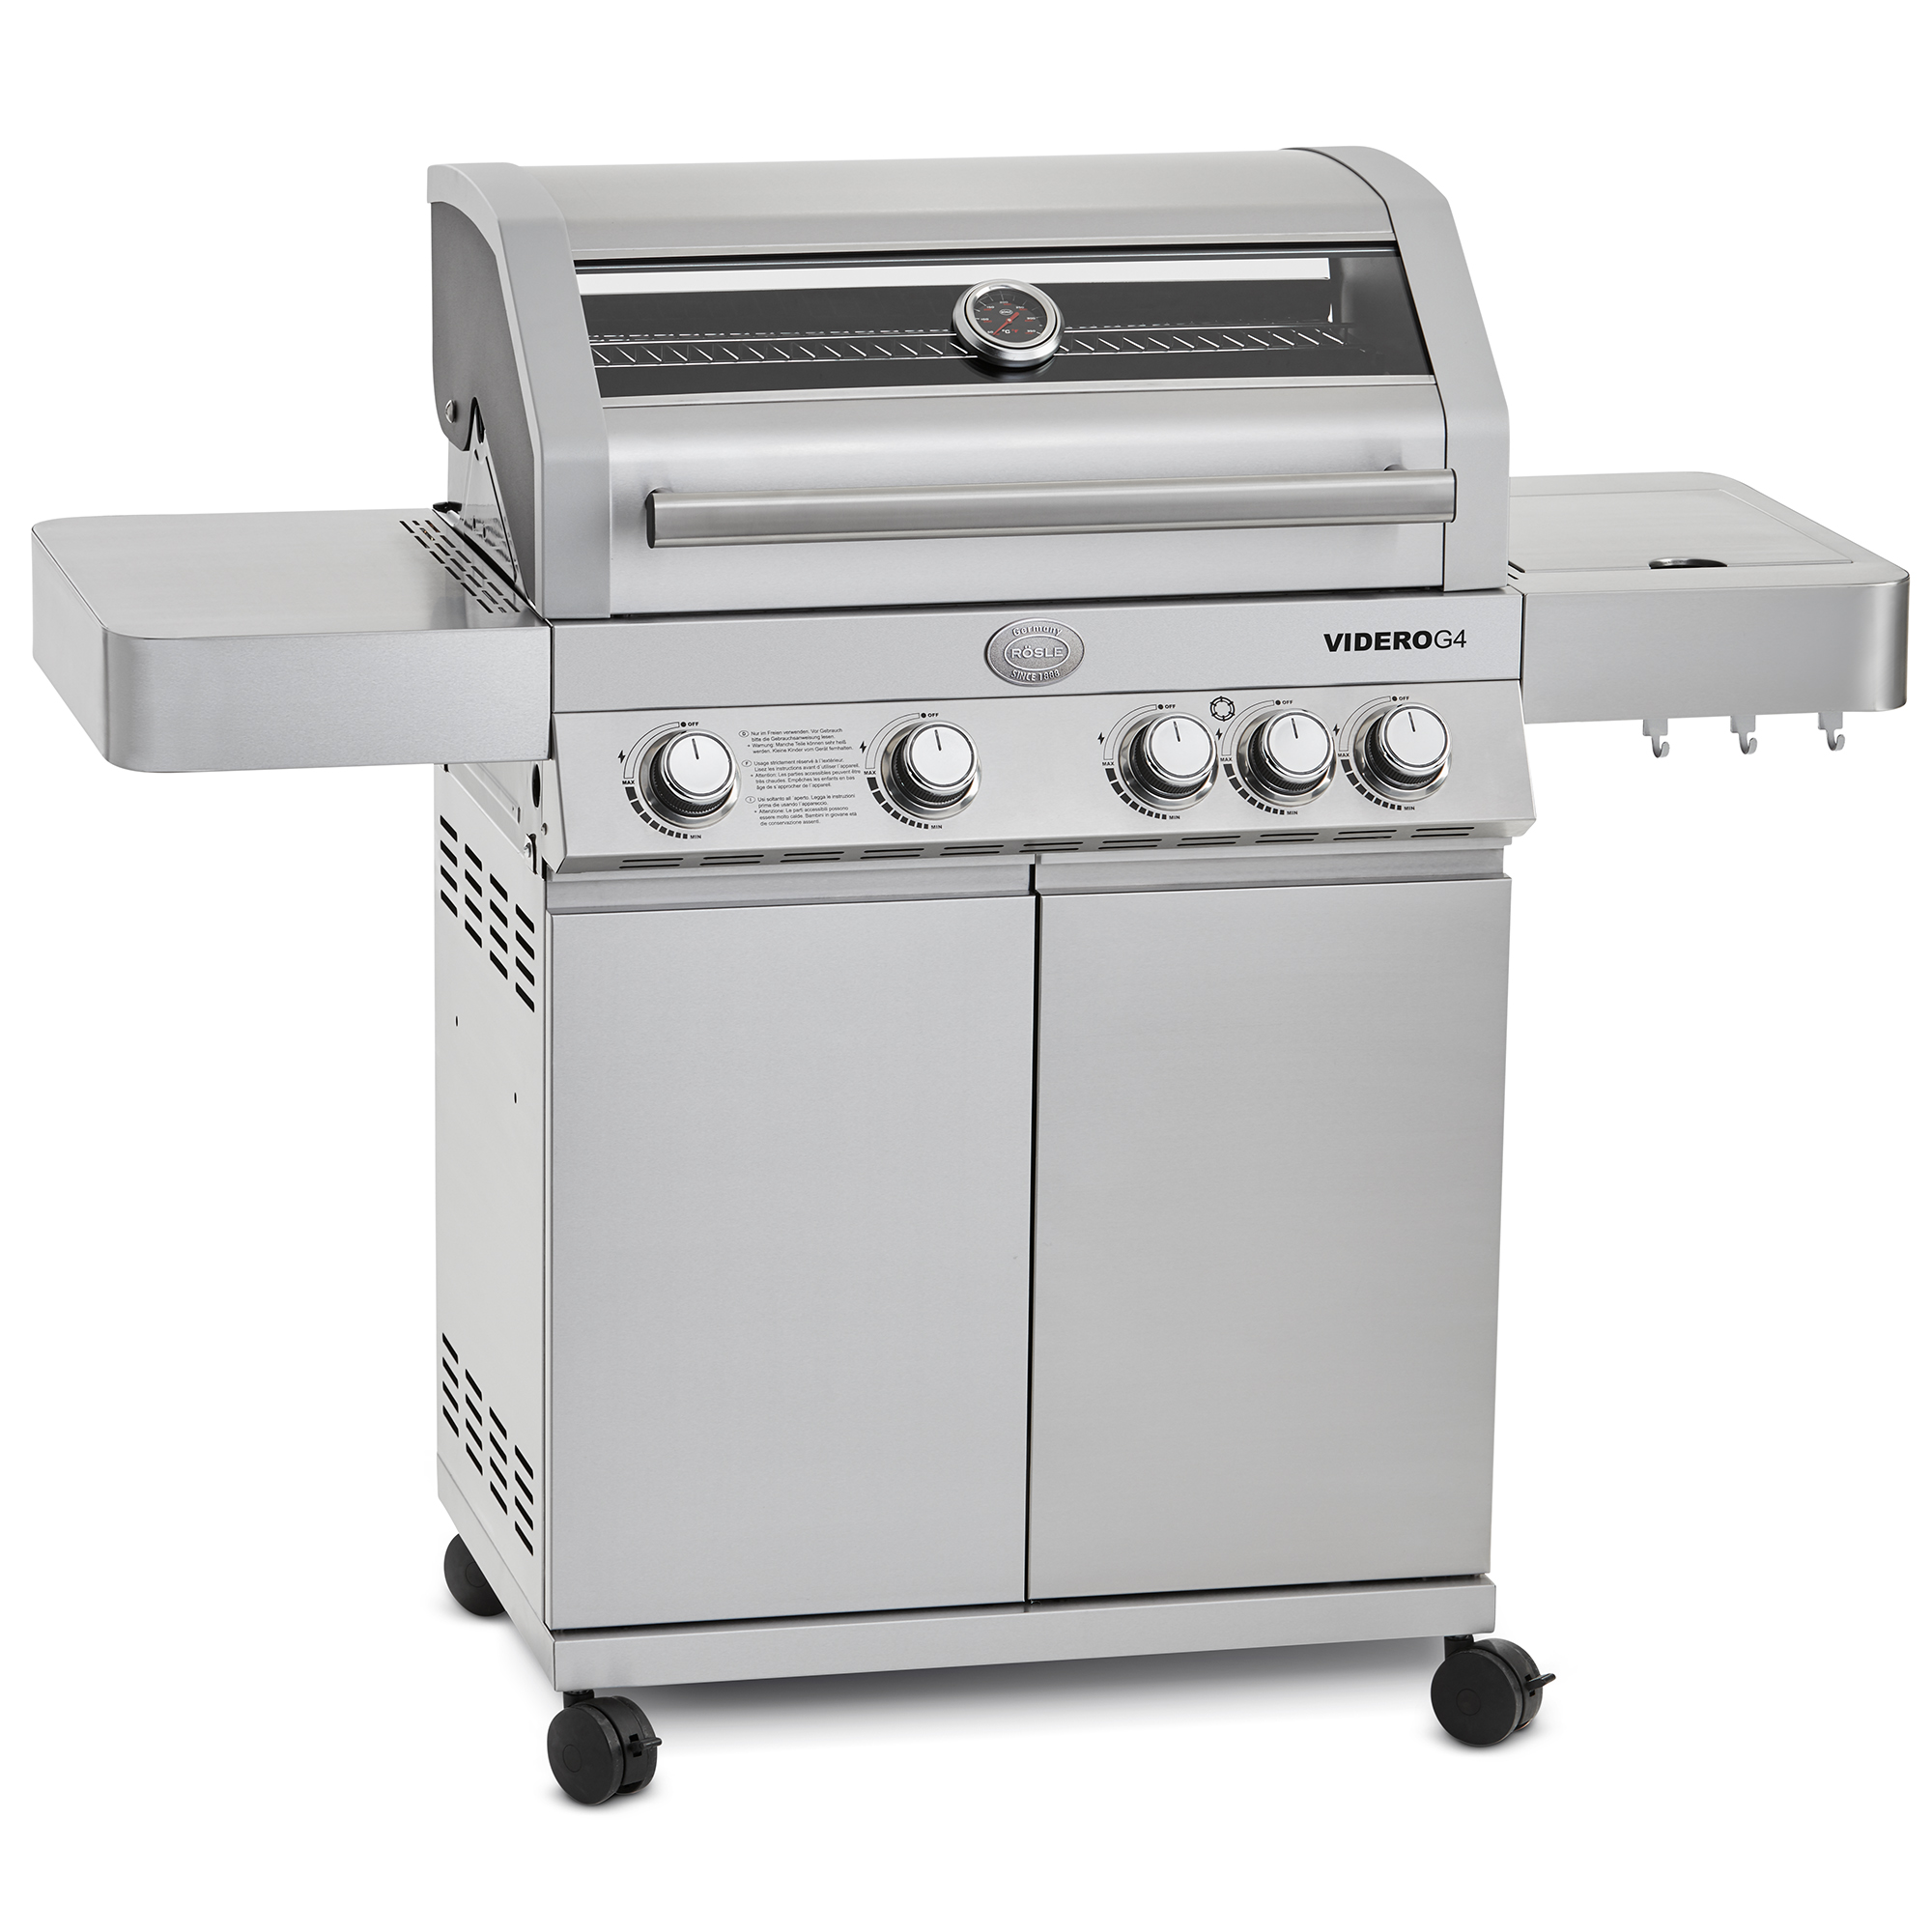
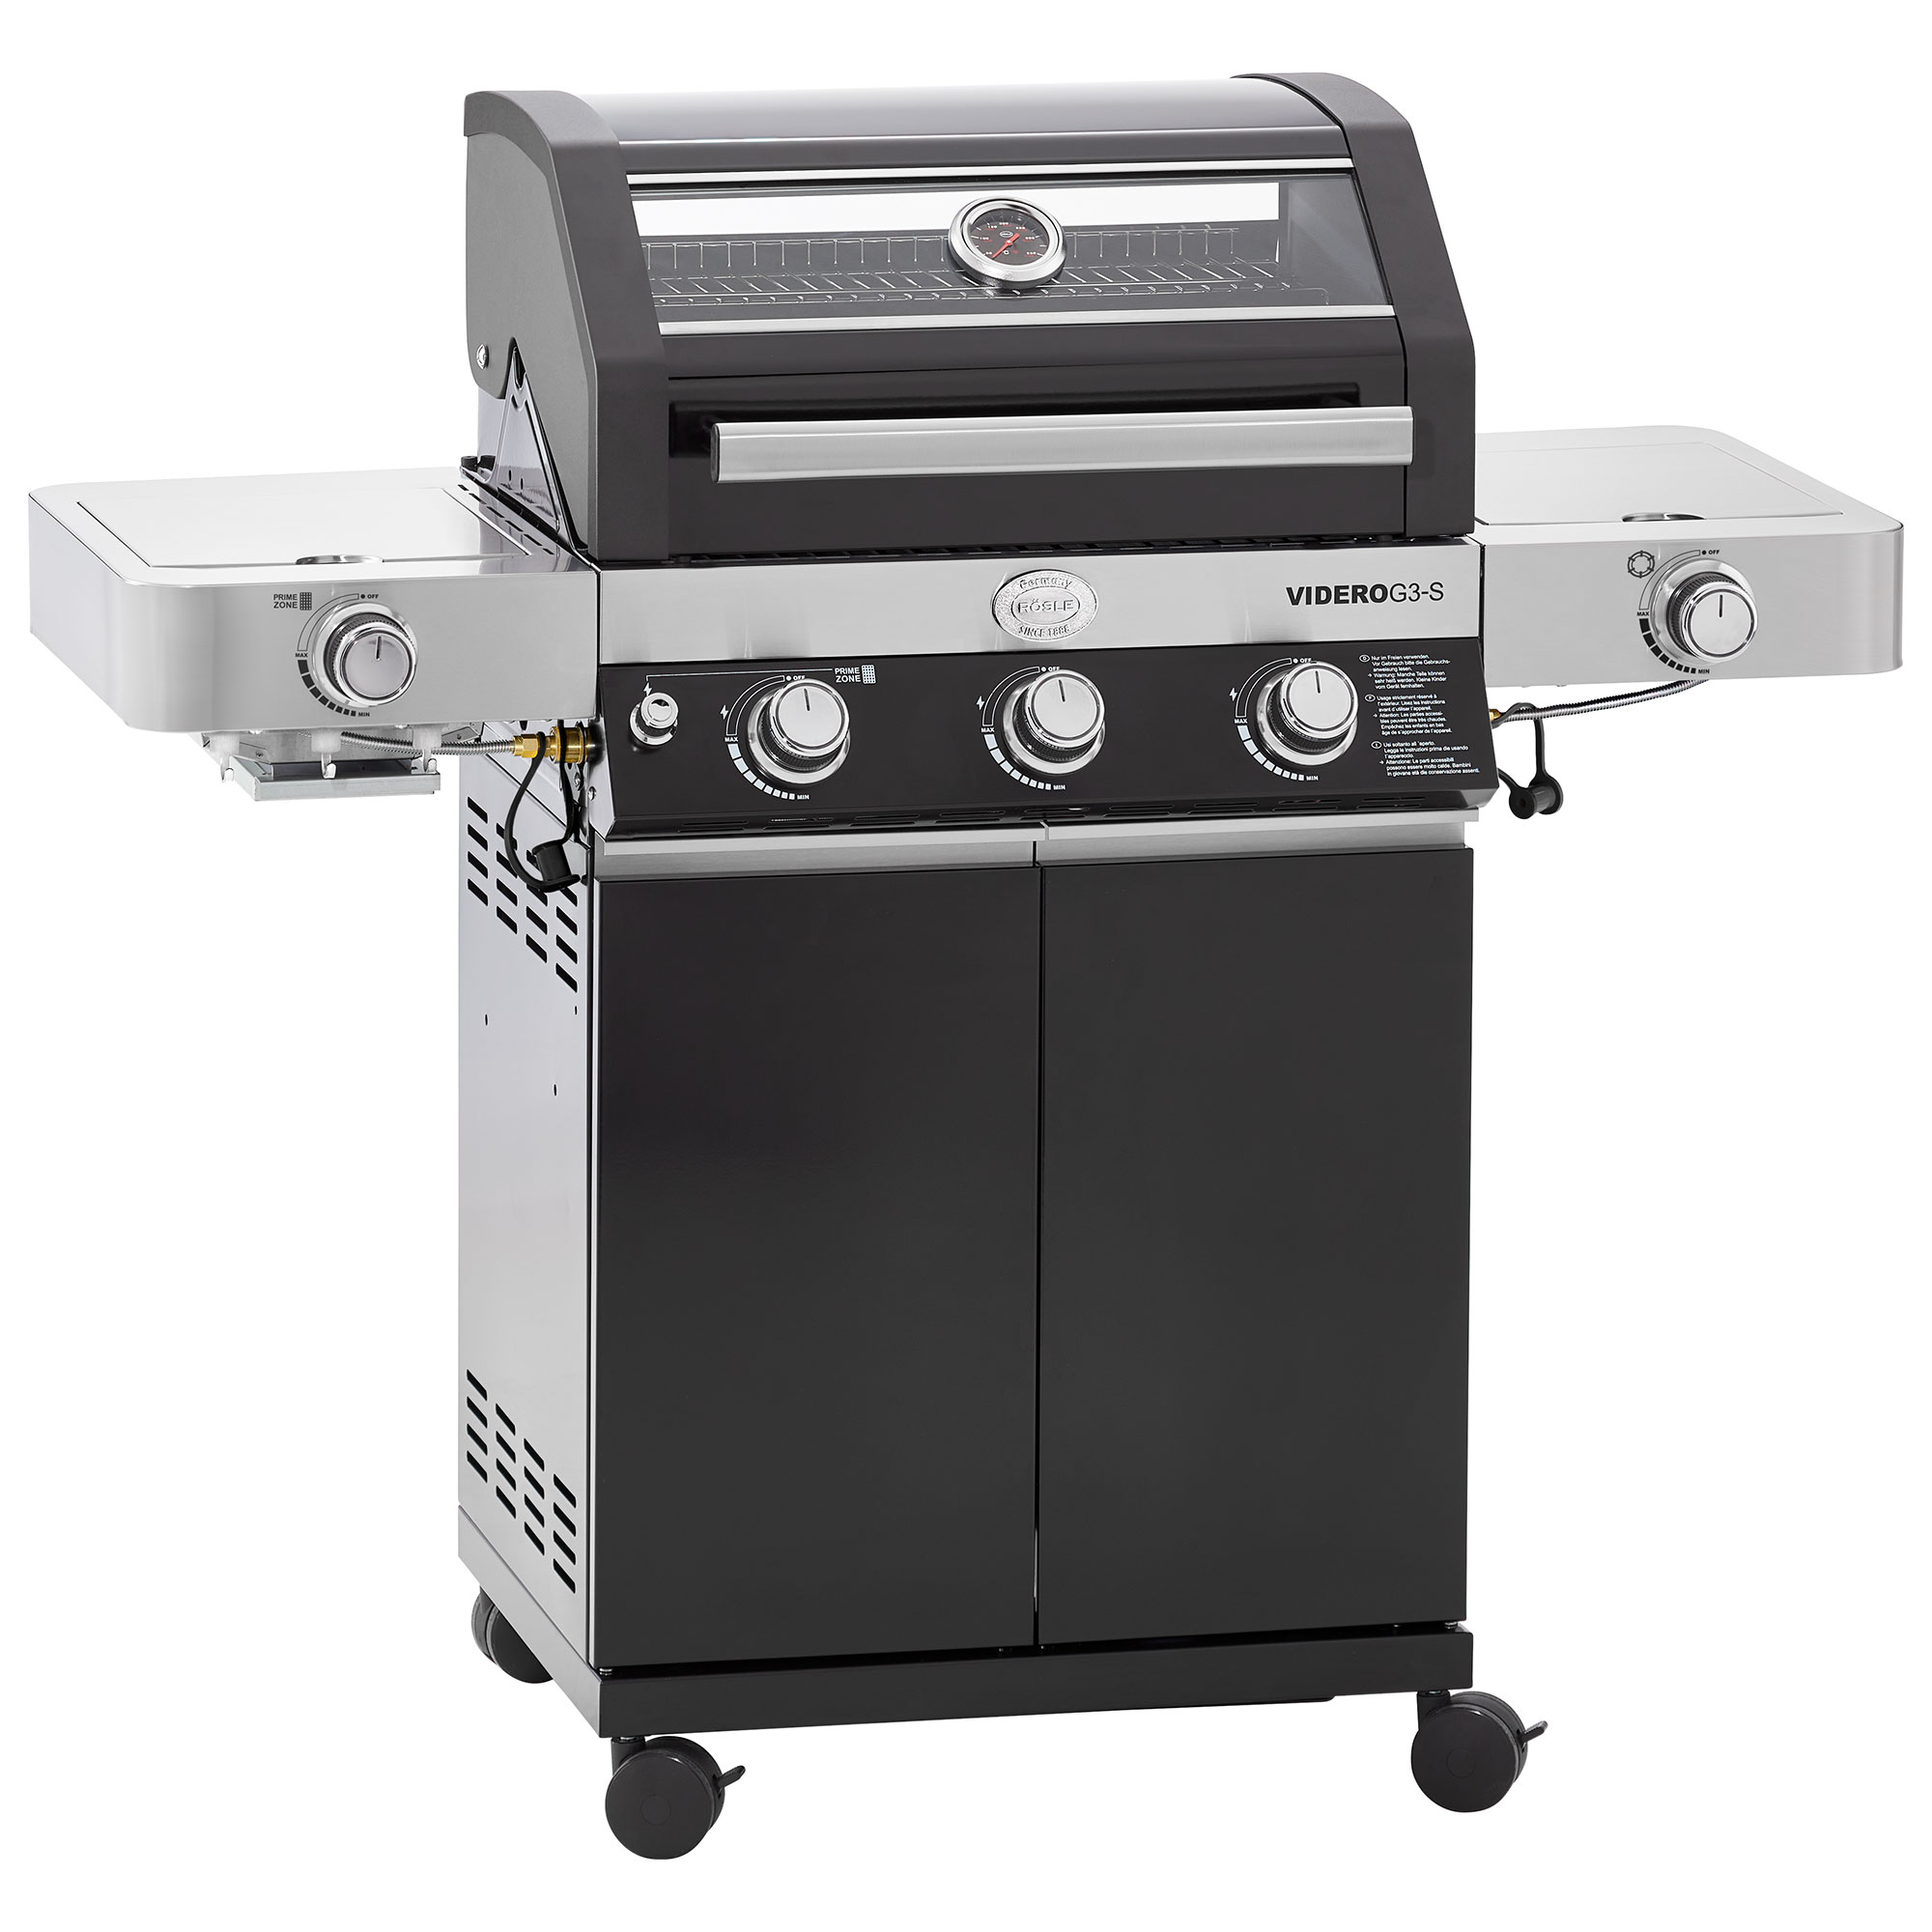
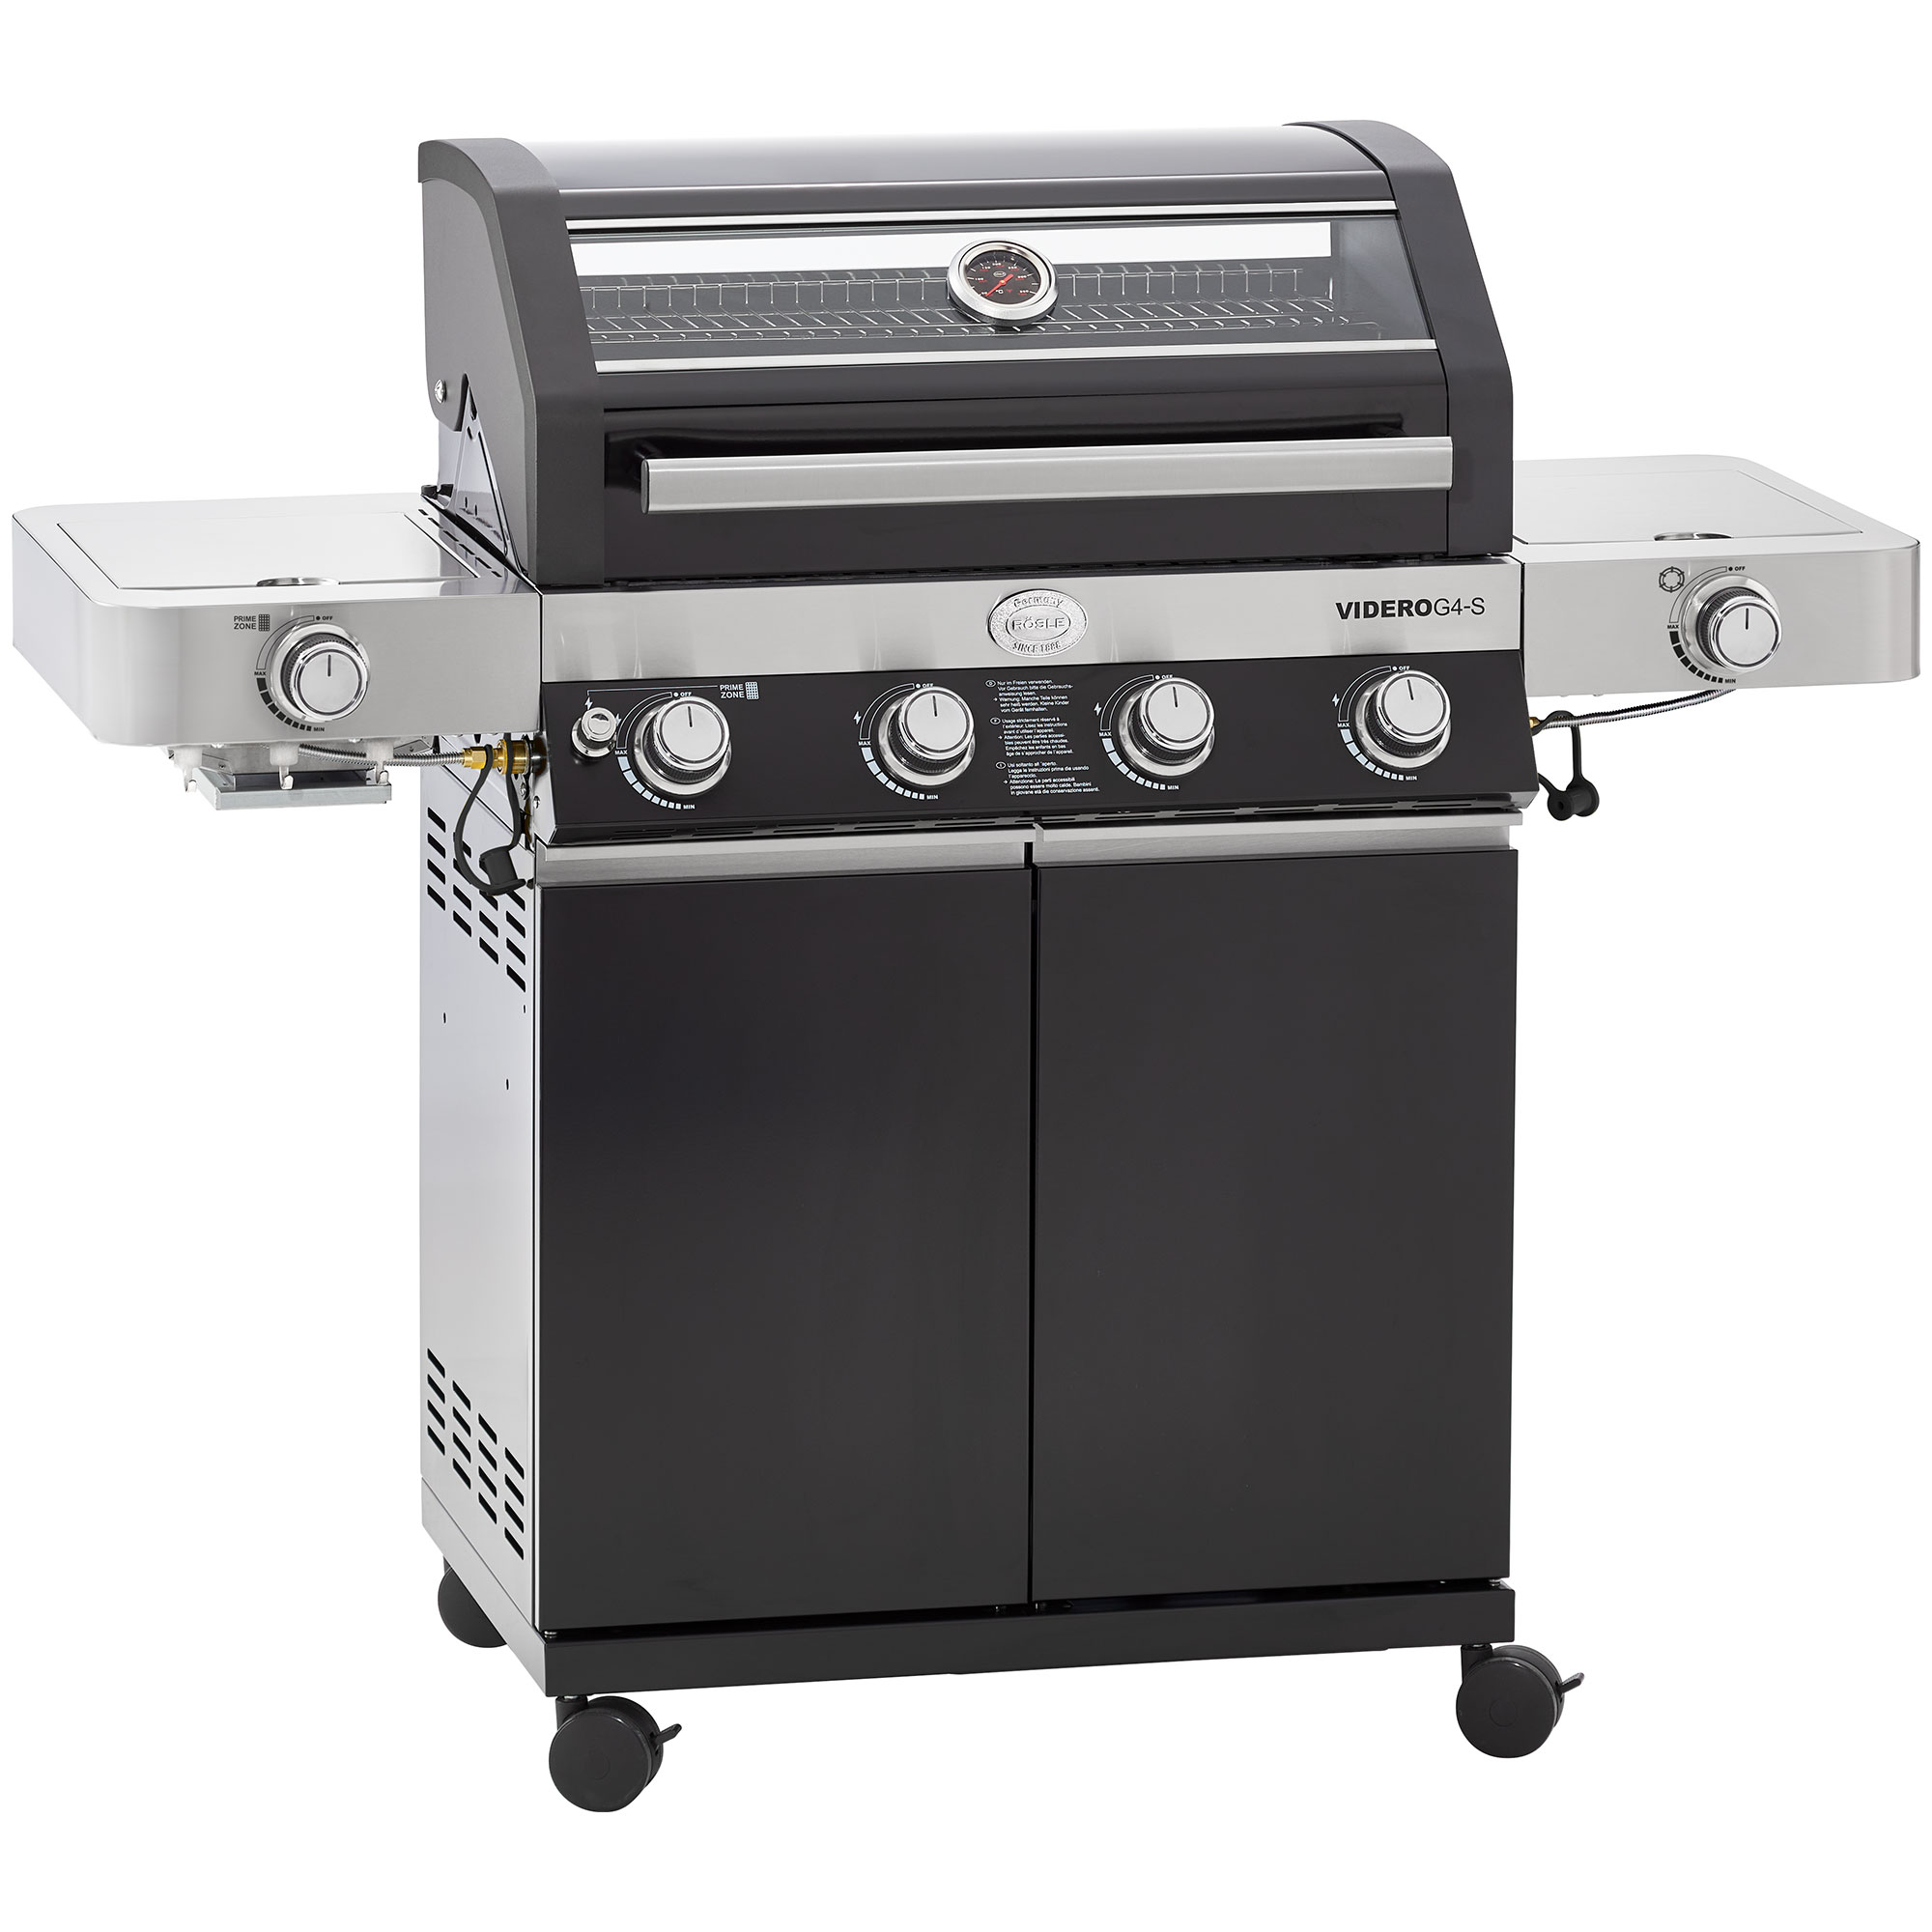
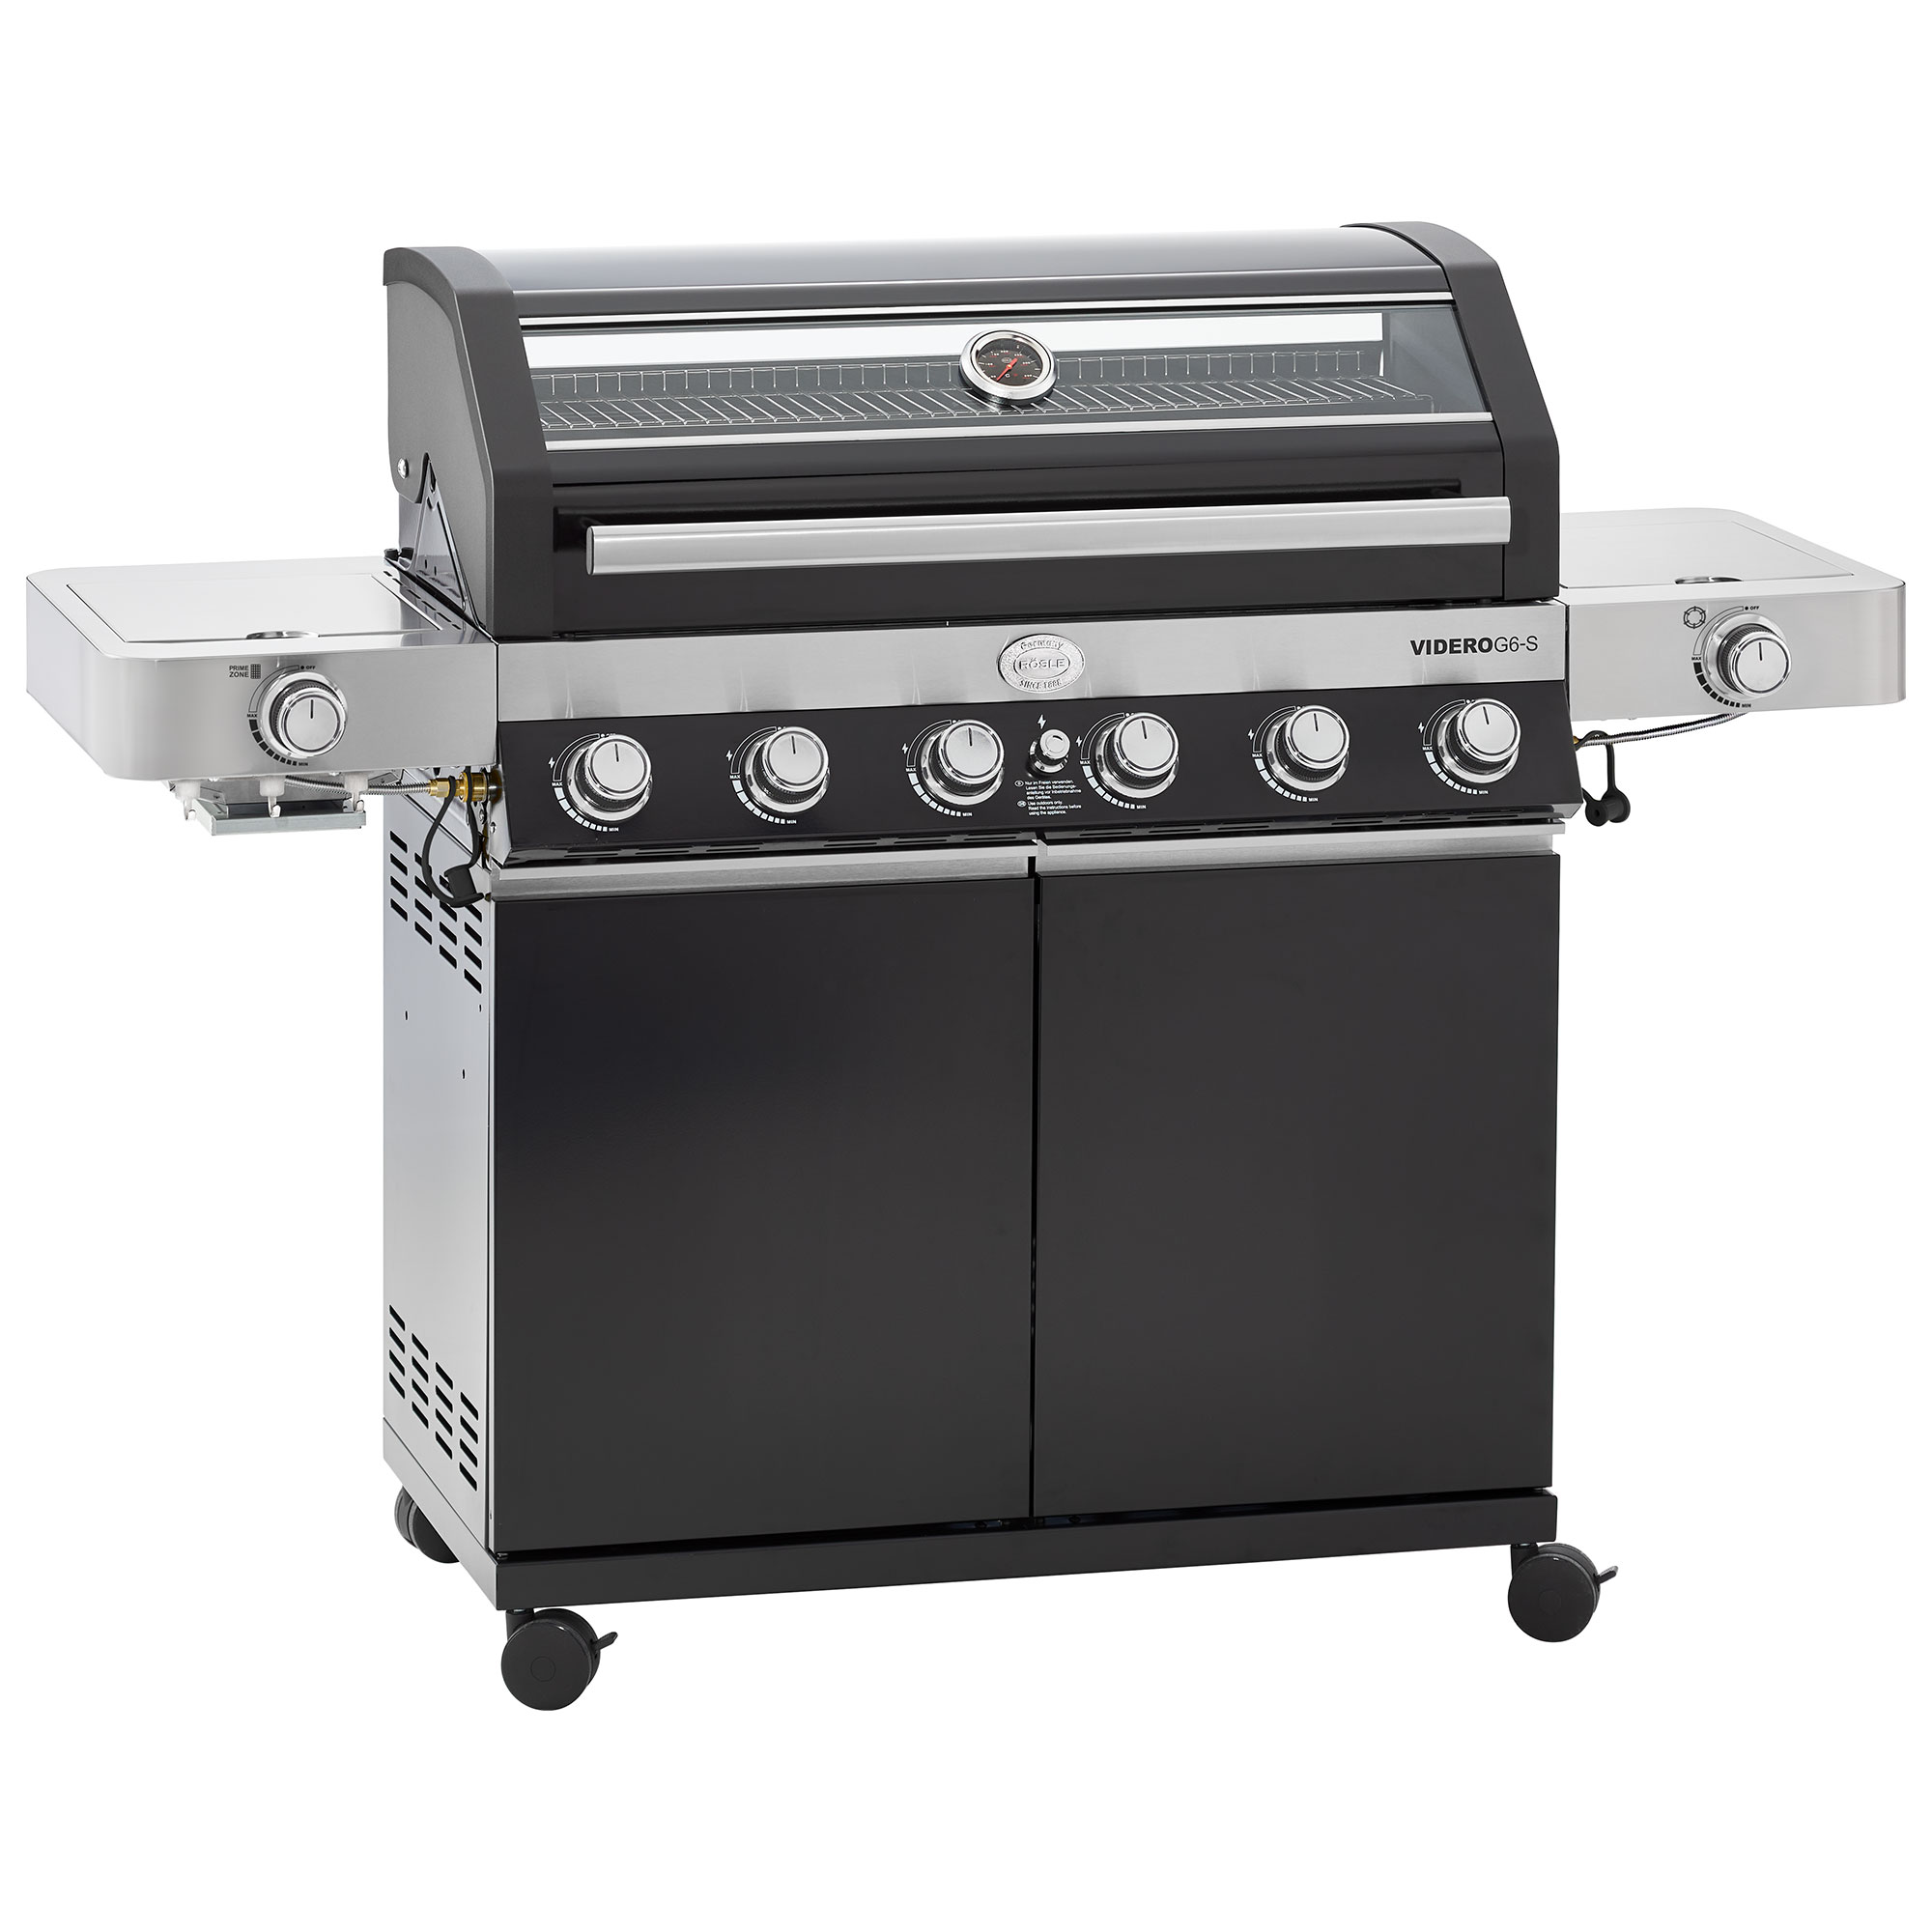
RÖSLE gas grills models

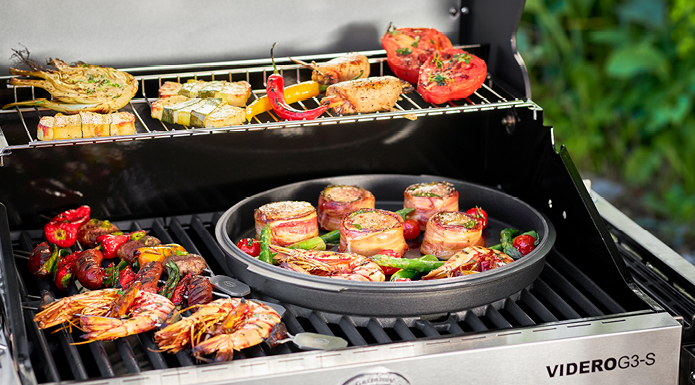
Vario+ Grill grate system
Even more possibilities with the VARIO grill grate system for all VIDERO grill stations.
As the Vario+ grill grate system will only be supplied as standard with the grills from 2021, you can easily retrofit your grill purchased before 2020 with the system and experience versatile grilling.
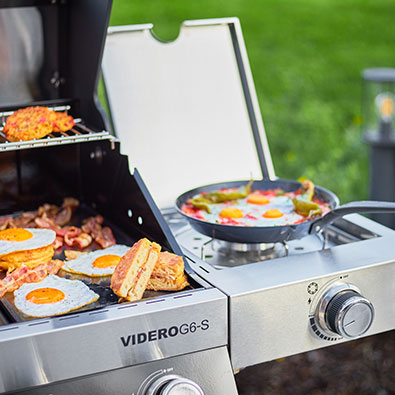
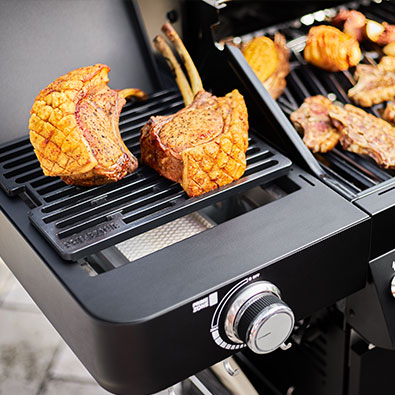
The difference:
The S models have the following features, which are not present in the standard models:
- Primezone with 3.5 kW power
- Vario+ grill system included
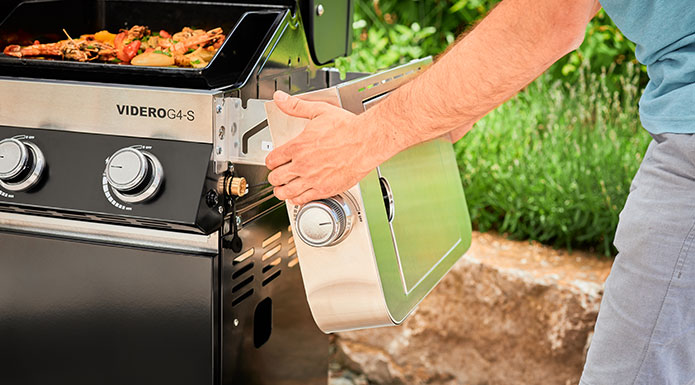
- Foldable side tables
- max. size of gas bottles up to 11 kg
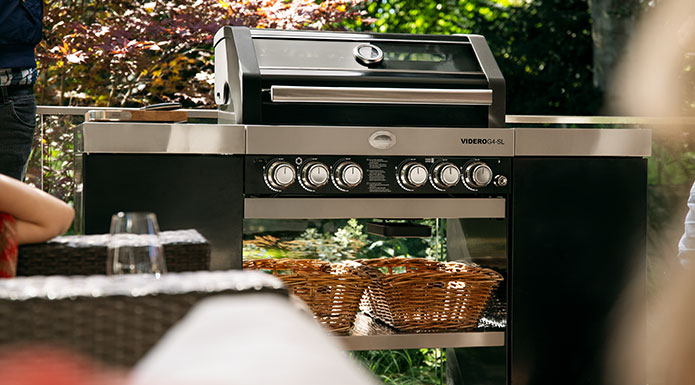
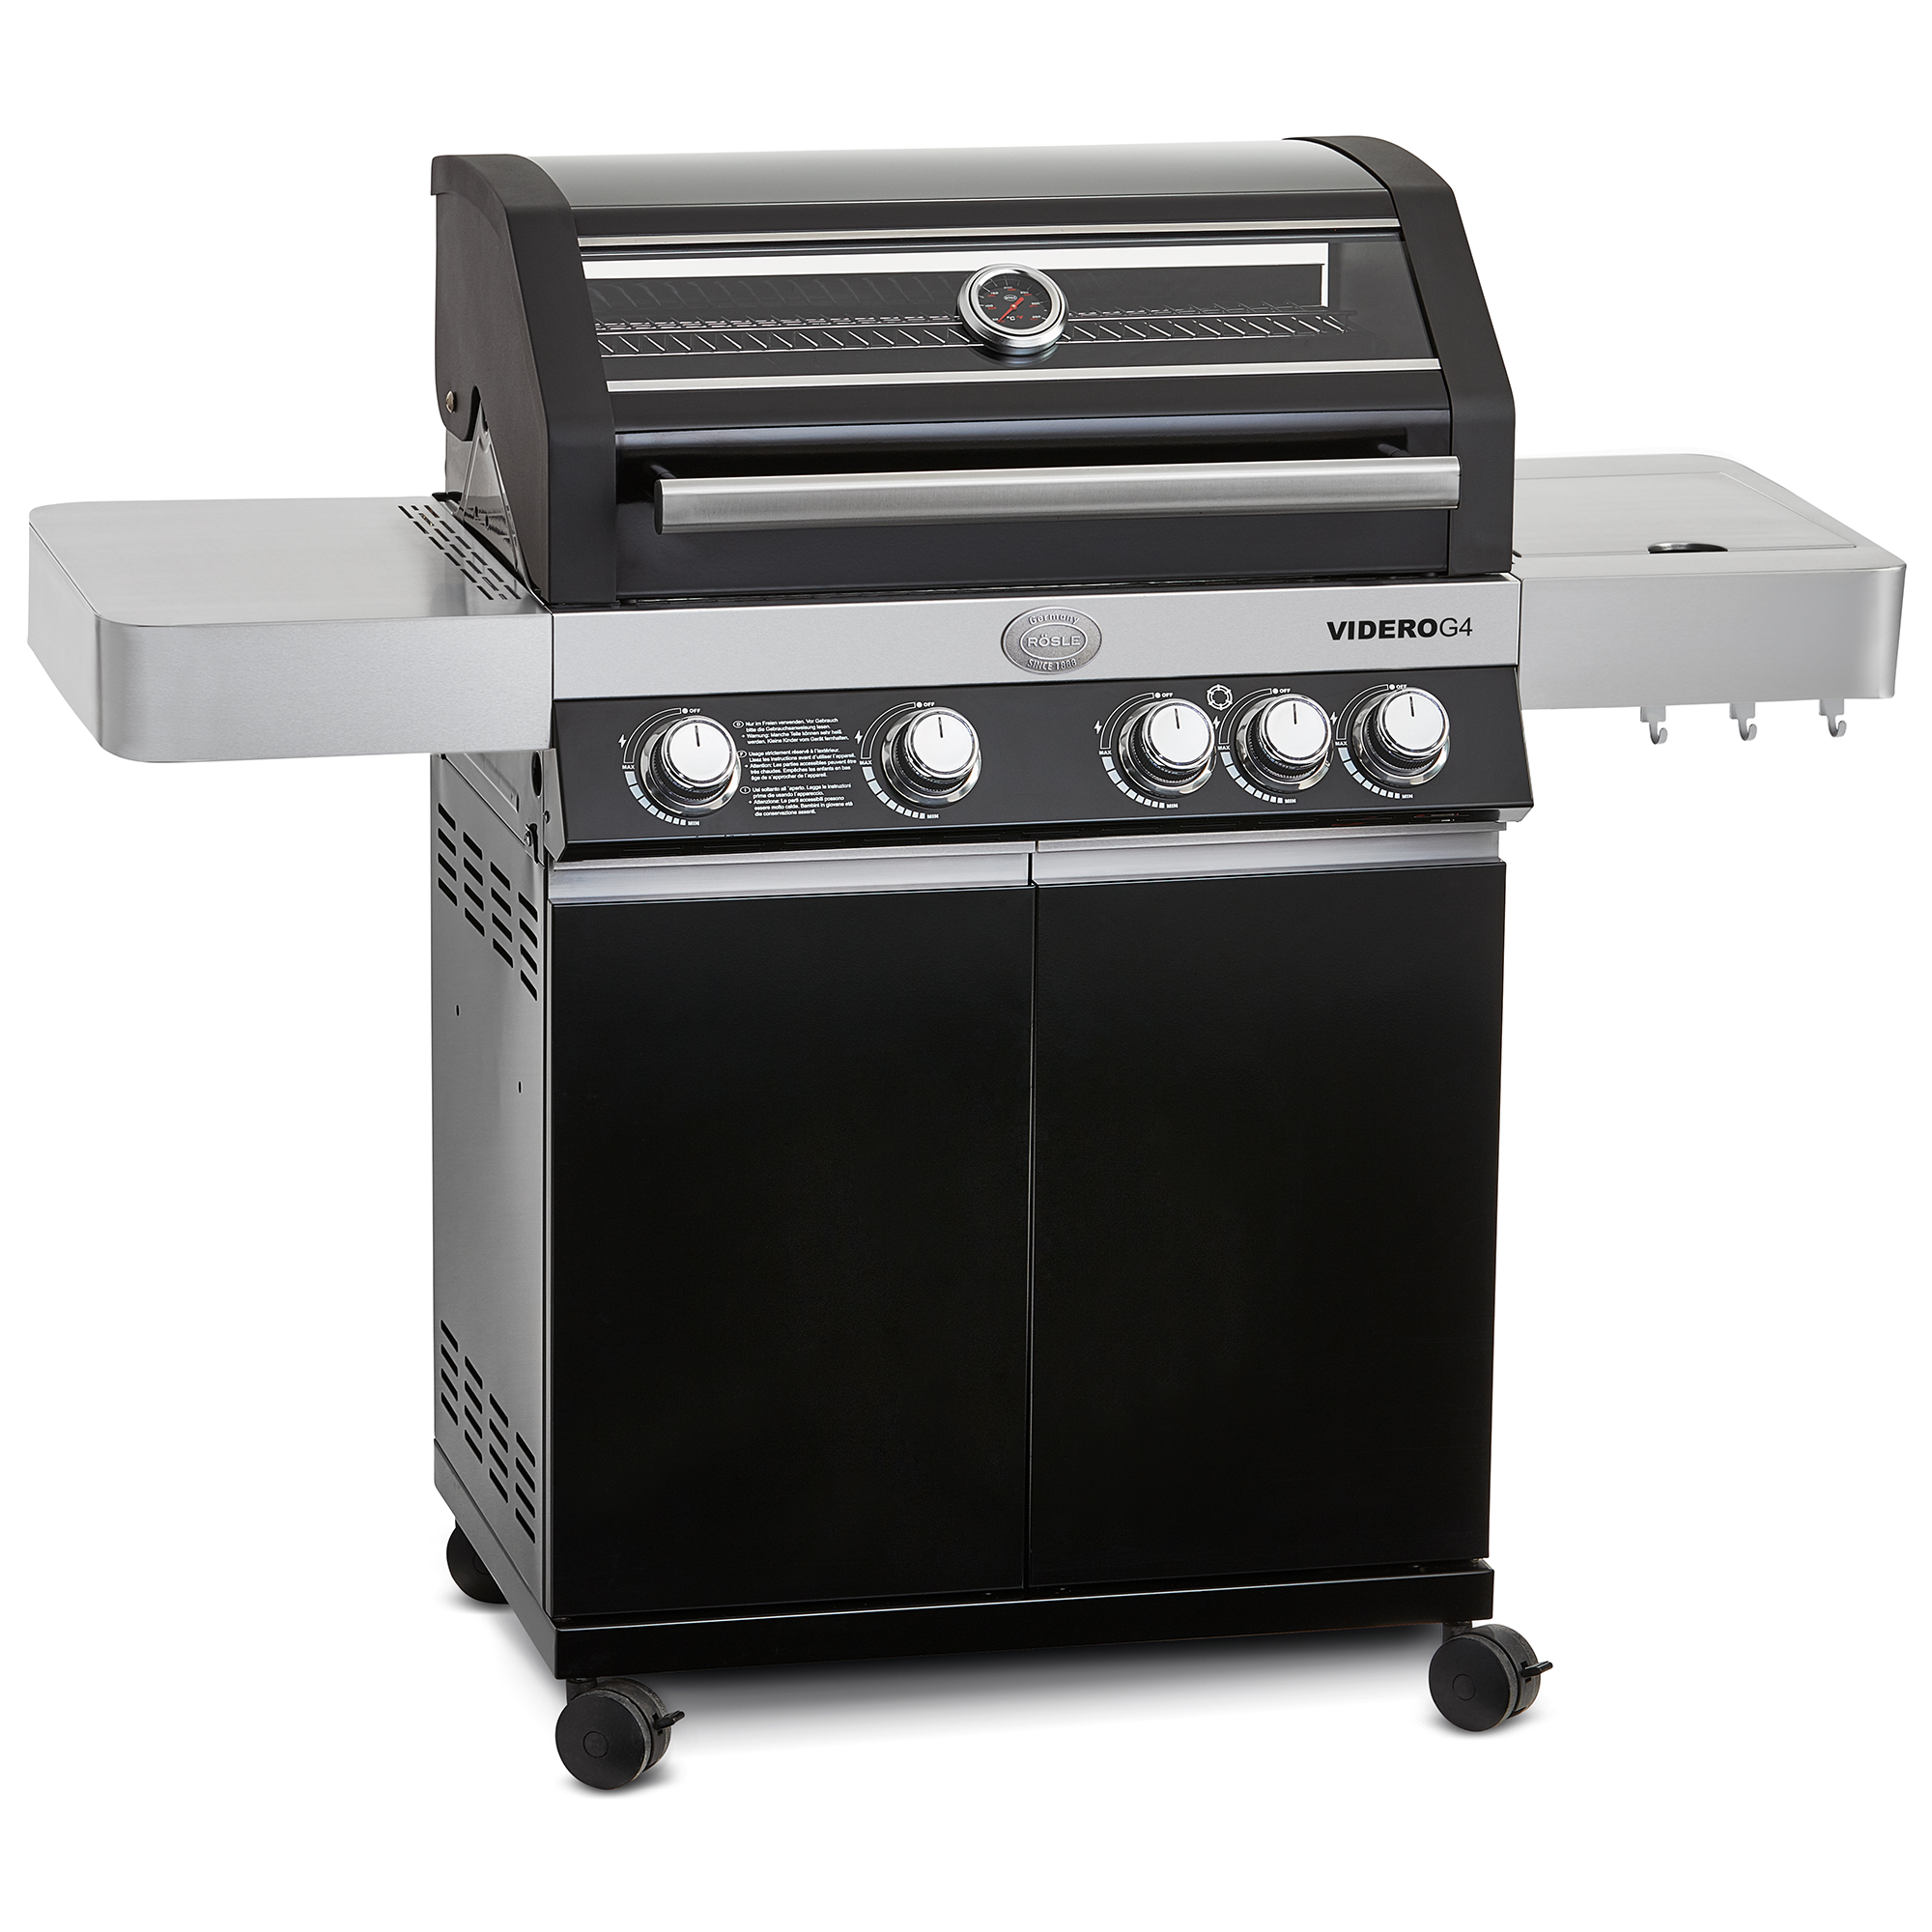
Gas grill BBQ-Island VIDERO G4-SL Vario+
- Primezone in side table right (3,5 kW)
- Side burner left (3,0 kW)
- Vario+ grill grate system included
- USB port for optional LED grill grate lighting
- Storage space for gas bottles up to 11 kg and for grill accessories (right side container with insert shelf)
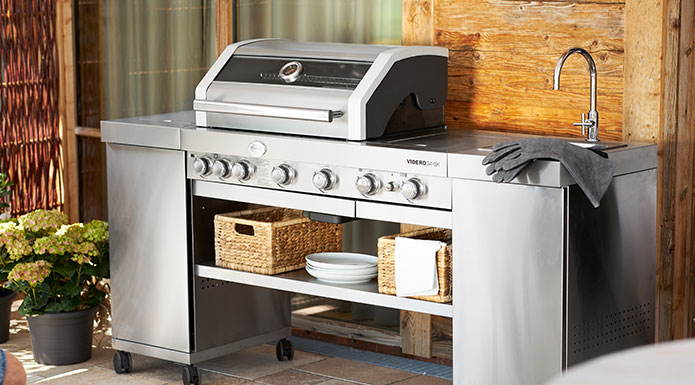
Gas grill BBQ-Kitchen VIDERO 4-SK Vario+
- Primezone in side table right (3,5 kW)
- Side burner left (3,0 kW)
- Infrared back burner (3,2 kW)
- Including Vario+ grill grate system
- USB port for optional LED grill grate lighting
- Stainless steel sink with faucet
- Storage space for gas bottles up to 11 kg and grill accessories
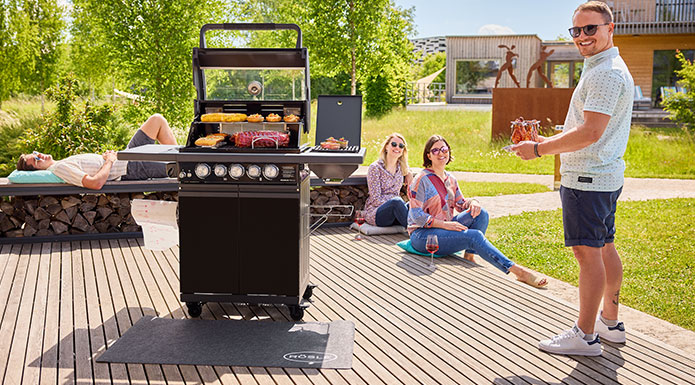
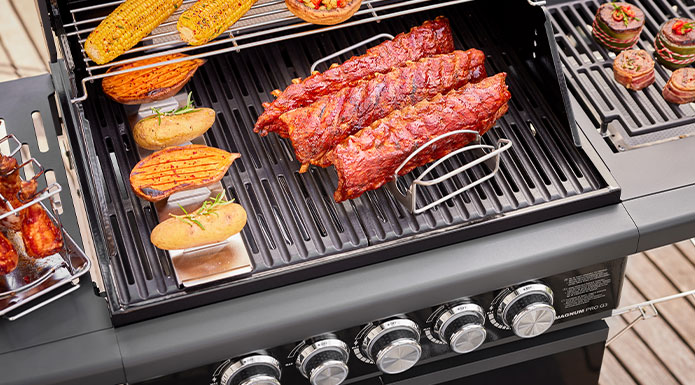
The Highlights
- FatDrip system technology
- Primezone in the right side table up to 800 °C
- Side burner in the left side table
- Infrared back burner (4.7 kW)
- Illumination high power burner
- Illuminated knobs
- Jet flame ignition system
Are RÖSLE grills suitable for natural gas operation?
Natural gas is fundamentally a different type of gas than propane, and that's why the grills are built differently. For example, natural gas is lighter than air and propane gas is heavier. Propane-approved grills cannot be used with natural gas and vice versa. All the popular BBQ gas grills on the market are powered by propane gas, but there are few models that are also approved to run on natural gas. Information can be found in the instruction manual.
Grill has an uneven flame pattern
How do I clean the firebricks of the Vision gas grill?
The firebricks in the Vision gas grill ensure even heat distribution in the grill and must be cleaned when necessary. Carefully scrape off any loose debris on the firebricks and sweep it off with a broom. For hard encrustations, simply turn the bricks over and then run the grill on MAX for about 15 minutes. This will burn off the encrustations and the firebricks will be ready for use again.
Do you have to burn in grill grates?
No! RÖSLE only uses enameled cast iron grates and there, baking is not necessary. Only raw steel or cast iron grates that do not have a coating are burned in. However, the grill should be operated at full power for approx. 30 minutes before first use in order to burn off any residues from the manufacturing process. Please also observe the instructions in the operating manual.
How do I clean the glass of my grill?
To clean the glass pane, the grill should be cold. It is a good idea to unscrew the thermometer to make cleaning easier. First remove coarse residues and grease splashes with a paper kitchen towel. Now use an oven cleaner or the RÖSLE Grill Cleaner and apply it to the glass pane. After a reaction time of approx. 10 minutes, you can clean the pane again with additional paper kitchen towels. Finally, wipe with a damp cloth and clear water.
The side stove of my grill does not work?
To put the side burner into operation, the assembly must be carried out according to the assembly instructions of the grill. Pay special attention to the ignition cable, which must be plugged in during assembly. It is also important to assemble the hose and nozzle, please follow the instructions in the assembly manual carefully. The small hole of the brass colored nozzle must point into the opening of the burner, as this is where the gas enters the burner. There is a defined distance between the nozzle and the opening of the burner, which provides the oxygen supply to the burner. This must not be closed. Some models (Vision series) have a separate electronic ignition which must be equipped with a battery. Please make sure that the battery is charged and inserted with the correct polarity.
Steak Zone/Prime Zone does not come up to temperature?
When the burner of the Prime Zone can be ignited, it takes approx. 5 min. until the ceramic of the burner turns orange (not so well visible in daylight). The grill should be operated protected from the wind. Please also check the filling level of the gas bottle, there should be at least 500g of gas left. You can reweigh this with the help of a bathroom scale or suitcase scale. The empty weight of the gas bottle / tare is printed on the neck of each bottle.
Can I clean the grates in the dishwasher?
1) Stainless steel grill grates can be cleaned in the dishwasher.
3) The charcoal grate of a charcoal grill does not need to be cleaned, as it is made of steel and will begin to rust and discolor in normal use as well. This is normal and represents normal wear and tear.
What is burn out? How does it work?
To burn out the grill grate, brush it with a cleaning brush while it is hot after grilling to remove the coarse remains of the grilling process. Now let the grill cool down completely and then cover it with a hood. The next time you grill, bring the coals to a glow again and put the grill grate back on immediately after adding the embers. After about 10 minutes, the residue on the grill grate will burn off and can then simply be brushed off with the grill cleaning brush. Finally, rub the hot grill grate with a paper kitchen towel soaked in some sunflower oil and with the help of the grill tongs to remove the burnt remains. Now the grill grate is lightly oiled and ready for the next grilled food.
Is it possible to retrofit the Prime Zone or a side stove?
In principle, grills must not be technically modified. The devices are tested in their original condition and may only be operated in this way. Any modification to the equipment voids the operating permit and the manufacturer's warranty.
Vario grill grate - wok rests on heat distributor?
To use the wok with the Vario griddle system, the heat distributors under the wok must be removed. The function of the heat distributor is now taken over by the wok itself. After using the wok, replace the heat distributors.
Steak Zone/Prime Zone in side table does not ignite:
If the burner cannot be ignited, various causes may be responsible. First, the battery in the separate igniter must be checked and replaced if necessary (note polarity: positive pole to the outside). Then check the ignition cable on the back of the side table to see if it is plugged together. Finally, check whether a stapling noise can be heard? If so, the igniter is working and the spark should be arriving at the torch. To test the igniter, the gas supply of the gas cylinder should remain closed! For exact instructions, please refer to the following video.
Which cleaning brush should I use for which grate?
RÖSLE offers various materials for grill grates:
Chrome-plated grill grates > with brass brushes
Enameled cast iron grates > with brass brushes
Grill does not ignite - or ignites irregularly:
If the grill is newly started and the gas cylinder has just been turned on, then you should leave each rotary valve on MAX for about 2 seconds to fill gas lines and the burner with gas. Now repeat the ignition process. If this does not work, then please check the steps in the following video:
Where can I find the serial number?
Grill does not come up to temperature
If your gas grill does not come up to temperature, this can have very different reasons. Starting from the level of the gas bottle, gas bottle not fully turned up, leakage of the gas connection, very low outside temperature, thermometer too tight or defective to blockages on the burner or the nozzle by spider cocoons, etc..
The doors of my grill are crooked:
The offset of the two doors can be adjusted. However, a level surface must be a prerequisite for this. Please follow the steps in the following video.
How do I remove a gas burner from my grill?
The removal of the gas burners is described in the operating instructions for your grill. For cleaning and complete inspection, the burner must be removed and checked at least once a year. This is included in the normal maintenance of the grill and can be done by the user.
Can I close the slot on the back of a gas grill?
No! The exhaust slot on the back of the lid must never be partially or completely closed. Clean combustion of the grill is then no longer ensured and a malfunction will occur. In addition, the internal cooking chamber temperature will increase considerably, resulting in serious damage to the gas valve unit.
My gas grill does not produce enough heat in the front part (on the sete of the knobs).
The gas burners are tubular in shape and the incoming gas is forced through to the rear. This means that there is more gas in the rear part of the burners, which results in the rear area being hotter than the front. This physical property is exploited by starting to grill the raw food in the rear part of the grill grates. After both sides are grilled, the grilled pieces are moved to the front area for cooking.

